








Care & Use
How do I maintain & take care of my plastic water bottles & water jugs?
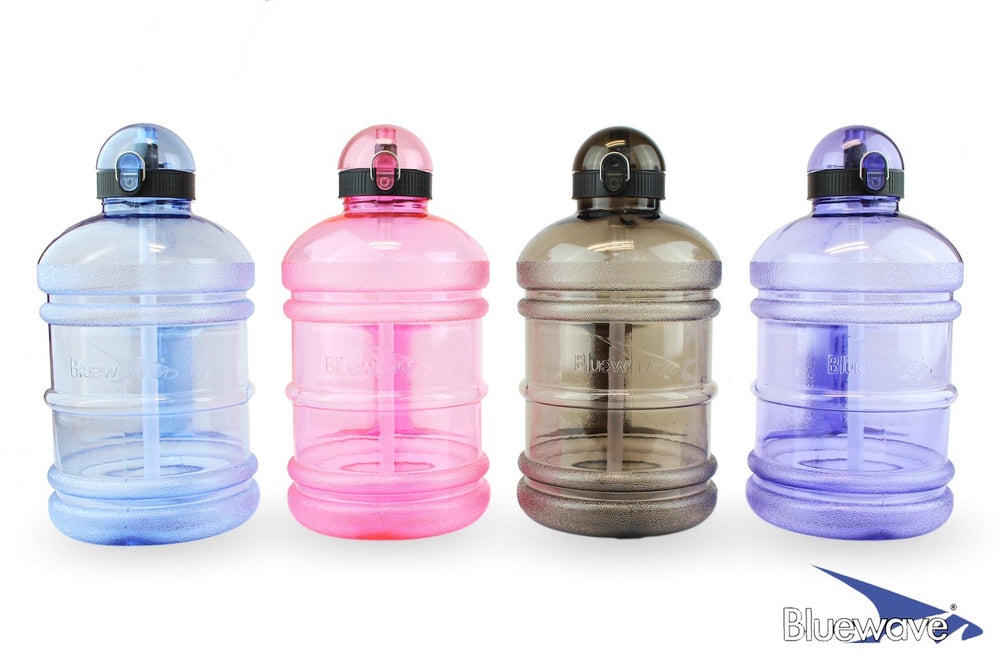
WATER BOTTLES & WATER JUGS
Wash and rinse the plastic water bottles or water jugs thoroughly before and after each use. Hand washing and air drying is recommended for best results. For a more thorough clean, please use a bottle brush to clean the inside of the water bottle. For large water bottles or water jugs, such as the 5 gallon water bottle, you can use a large bottle brush to clean. If needed, add unscented soap, fill the bottle with warm water (NOT HOT), shake it a few times, and let it sit for a few minutes and then rinse it clean with warm water. Repeat if needed. Our plastic water bottles are dishwasher safe and placing it on the top rack is recommended from time to time. Please do not put the caps in the dishwasher.
DO NOT use bleach or chlorine base cleaners.
How do I maintain & take care of my stainless steel water bottles?
STAINLESS STEEL WATER BOTTLES
Wash and rinse the plastic water bottles or water jugs thoroughly before and after each use. Hand washing and air drying is recommended for best results. For a more thorough clean, please use a bottle brush to clean the inside of the water bottle. If needed, add unscented soap, fill the bottle with warm water (NOT HOT), shake it a few times, and let it sit for a few minutes and then rinse it clean with warm water. Repeat if needed. Our stainless steel water bottles are top-rack dishwasher safe, however the paint on the bottle may be chipped and/or scratched over time. Therefore we only recommend hand washing the bottles to maintain longevity! DO NOT use bleach or chlorine base cleaners.
How do I maintain & take care of my water bottle caps & lids?
WATER BOTTLE CAPS & LIDS
Wash and rinse the water bottle caps thoroughly before use and after each use. Hand washing and air drying is recommended for best results. For a more thorough clean, you can soak the water bottle caps in unscented soap water and then rinse it clean afterward. DO NOT use bleach or chlorine base cleaners. If you lost your water bottle caps or need replacements, you can purchase replacement caps & lids.
How do I maintain & take care of my beverage dispenser | water dispenser crock?
BEVERAGE DISPENSERS & WATER CROCKS
Wash & rinse the beverage dispenser and parts thoroughly before use and after a certain period of usage. Hand washing & air drying is recommended for best results. For a more thorough clean, please wash with warm unscented soapy water. Rinse thoroughly with warm water and air dry. The porcelain water crock & beverage dispenser is dishwasher safe. Please remove all parts before putting into dishwasher. Handle the beverage dispenser & water crock with care. The water dispenser can become slippery when wet. DO NOT use bleach or chlorine base cleaners.
If you need replacement parts for your water dispenser, you can purchase porcelain lid, dispensing faucet valve, and dispenser ring.
How do I install, setup, & take care of my spout | spigot | faucet | valve?
SPOUT, SPIGOT, FAUCET, VALVE FOR WATER DISPENSER CROCKS & WATER BOTTLES
Installation
To install the spigot or faucet valve to your water dispenser crock, unscrew the nut and make sure the slanted side of the washer is facing the item opening. Place the spigot or faucet valve with washer through the opening. For water dispenser crocks, it is recommended to use only one washer on the products outer wall, to reduce the chance of leakage. (A second washer can be added to the internal product wall with slanted side of washer facing the hole. Often times, one washer on the crock's outer wall may work better than having two washers.) Tighten the nut on the spigot or faucet valve firmly. However, please DO NOT over-tighten, which will cause the rubber washer to lose its' elasticity over time and may cause leaks. Once the spigot is installed, test the product first before using. Adjust and re-install as needed.
Cleaning, Maintenance, & Adjustment
Please disassemble the dispensing spout or spigot. Be careful when disassembling due to small internal parts inside the spigot. Wash and rinse all the parts except for any metal parts. Hand washing and air drying is recommended for best results.For a more thorough clean, you can soak the spigot or faucet parts in unscented soap water and then rinse it clean afterward. DO NOT soak any metal parts. DO NOT use bleach or chlorine base cleaners.Remember to check the internal parts, such as the rubber or spring, to make sure they are assembled correctly & have not come loose over time or during use.If you lost your spout, spigot, faucet, valve or simply need a new one, you can purchase an additional replacement faucet valve.
Please follow the video instructions below for setup and/or adjustments:
Section 1 (0:03): Installation of Spigot onto Water Dispenser Crock & Beverage Dispenser
Section 2 (0:38): Adjustment of Internal Rubber
Section 3 (1:02): Spigot Lever Dispensing Functions
Installation
To install the spigot or faucet valve to your water bottle or drink dispenser, unscrew the nut and make sure the slanted side of the washer is facing the item opening. Place the spigot or faucet valve with washer through the opening. Often times, two washers will be needed for water bottles and dispensing bottles. Make sure the slanted side of the washers (inside washer & outside washer) are facing the item opening. Tighten the nut on the spigot or faucet valve firmly. However, please DO NOT over-tighten, which will cause the rubber washers to lose their elasticity over time and may cause leaks. Once the spigot is installed, test the product first before using. Adjust and re-install as needed.
Cleaning, Maintenance, & Adjustment
Please disassemble the dispensing spout or spigot. Be careful when disassembling due to small internal parts inside the spigot. Wash and rinse all the parts except for any metal parts. Hand washing and air drying is recommended for best results.For a more thorough clean, you can soak the spigot or faucet parts in unscented soap water and then rinse it clean afterward. DO NOT soak any metal parts. DO NOT use bleach or chlorine base cleaners.Remember to check the internal parts, such as the rubber or spring, to make sure they are assembled correctly & have not come loose over time or during use.If you lost your spout, spigot, faucet, valve or simply need a new one, you can purchase an additional replacement faucet valve.
Please follow the video instructions below for setup and/or adjustments:
Section 1 (0:05): Installation of Spigot onto Dispenser Bottle & Water Bottle
Section 2 (1:05): Disassembly of Spigot for Cleaning & Adjustment
Section 3 (1:45): Reassembly of Spigot after Cleaning & Adjustment
How do I install, setup, & take care of my water bottle rack?
METAL BOTTLE RACK FOR WATER BOTTLES & WATER JUGS
To keep it clean, simply wipe it down with a soft cloth from time to time.Check the nuts and bolts over a period of time, tighten if necessary, to make sure the stand is stable and sturdy.Use a couple of drops of lubrication if needed on the bolts, washers, and nuts.Each step (layer) will hold one large water bottle. E.g. 4 step rack can hold 4 (four) individual bottles.Once the bottle rack is assembled, the stand is strong enough to support your large water bottles & water jugs. You can easily store 2 gallon water jugs up to 5 gallon water jugs.
Please follow the instructions below for setup:

Bluewave Bottle Rack Instruction.pdf
Download File
Download File
How do I install, setup, & take care of my wood stand for my beverage dispenser, water crock, and large water bottles?
WOOD STAND FOR BEVERAGE DISPENSER, WATER CROCK, & LARGE WATER BOTTLES
The wood stand has a varnish coat on it. To keep it clean, simply wipe it down with a soft cloth from time to time.Check the screws over a period of time, tighten if necessary, to make sure the stand is stable and sturdy.Once the wood stand is assembled, it will be able to support your beverage dispenser, water dispenser, and large water bottle.
Please follow the instructions below for setup:
Bluewave Wood Stand Instruction.pdf
Download File
Download File
How do I install, setup, & take care of my metal stand for my water dispenser, crock, and water jugs?
1) MODULAR METAL STAND
To keep it clean, simply wipe it down with a soft cloth from time to time. Check the nuts and bolts over a period of time, tighten if necessary, to make sure the stand is stable and sturdy. Use a couple of drops of lubrication if needed on the bolts, washers, and nuts.
Since our patented modular stand is "modular", there are different setup versions to choose from. Please select the correct Setup version.
Please follow the video instructions below for:
Setup A (1:36) | 2-Step Metal Stand with Base
Setup B (3:43) | 2-Step Metal Stand with Lower Bracket
Setup C (6:47) | 3-Step Metal Stand with Middle Bracket & Base
Setup D (9:41) | 3-Step Metal Stand with Middle & Lower Bracket
Please follow the complete video below for all setup instructions:
Download File
2) 2-STEP & 3-STEP METAL STAND
To keep it clean, simply wipe it down with a soft cloth from time to time. Check the nuts and bolts over a period of time, tighten if necessary, to make sure the stand is stable and sturdy. Use a couple of drops of lubrication if needed on the bolts, washers, and nuts.
Please note: 2 Step Metal Stand only have the top & bottom bracket. It does not have the middle bracket. Assembly is similar but without mid bracket. Once the metal stand is assembled, it will be able to support your beverage dispenser, water dispenser, and large water bottles.